Used Car Pre-Purchase Inspection The Ultimate Guide & Smart Lifestyle Tips
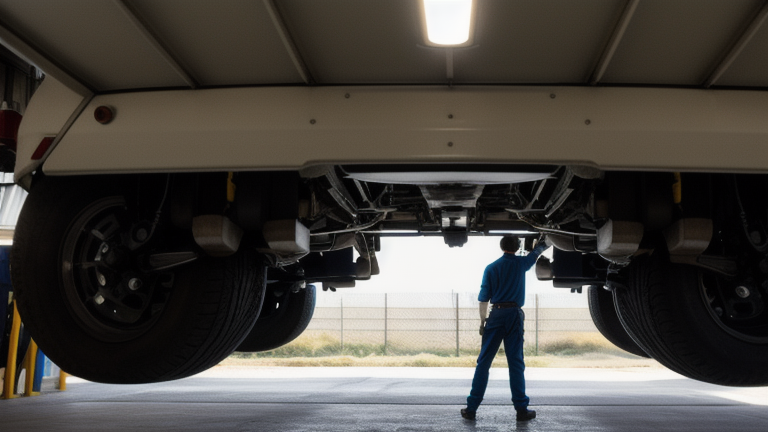
Buying a pre-owned vehicle is one of the most practical financial decisions you can make, yet it remains fraught with hidden risks. A sleek paint job and a pristine interior can easily mask underlying engine wear, frame stress, or electrical faults. This is where a Used Car Pre-Purchase Inspection (PPI) becomes your most valuable tool.
Beyond saving thousands of dollars in potential repair costs, the discipline involved in evaluating a used vehicle offers profound lessons for everyday life. At Carri, we view the pre-purchase evaluation not merely as a technical checklist, but as a lifestyle philosophy centered on diligence, emotional discipline, and long-term value.
A used car that looks clean in photos and drives fine for a ten-minute test loop can still be hiding flood damage, a bent frame, or a patched-over accident. A structured inspection, done in the same order every time, catches the signs that a casual look-over misses. Here is a practical 30-point pass, grouped by what you’re actually checking for.
Exterior and Body: 8 Checks
- Stand at each corner of the car and sight down the body line — ripples or waves in sheet metal suggest filler work from a prior repair.
- Check panel gaps are even on both sides (doors, hood, trunk) — uneven gaps can indicate frame misalignment or a replaced panel.
- Open the fuel door and trunk lid and check for overspray or mismatched paint texture on hidden edges, which often reveals a respray job.
- Look under wheel arches for fresh undercoating that doesn’t match the rest of the underside — a common way to mask rust or hide minor collision repair.
- Check tire wear patterns — uneven wear across one tire’s width can point to alignment or suspension damage, not just tire age.
- Inspect windshield and window glass for a matching manufacture date code etched in the corner — mismatched dates across windows (if visible) may indicate replacement after a break-in or collision.
- Check all exterior lights function, including turn signals and reverse lights, with someone outside confirming while you operate switches.
- Look for rust bubbling specifically around wheel wells, rocker panels, and the trunk floor edge — common early rust points on most vehicles.
Signs of Flood Damage: 6 Checks
- Check under seats and carpet edges for water staining, silt residue, or a musty smell that air fresheners haven’t fully masked.
- Inspect seatbelt webbing by pulling it fully out — mud or staining partway through indicates it was submerged, even if the visible section looks clean.
- Check the spare tire well and trunk carpet underside for rust or water lines, as this low point often collects evidence floodwater reached.
- Look at headlight and taillight housings from inside for a fogged or water-line residue pattern on the interior lens surface.
- Check electrical connectors under the dash (where accessible) for corrosion, a telltale sign of past water intrusion even after a thorough cleaning.
- Smell the HVAC system on first startup — a strong musty or mildew smell on initial blower activation often outlasts cosmetic cleaning efforts.
Frame and Structural Integrity 6 Checks
- Check factory frame rail welds for consistency — factory spot welds are uniform and machine-placed; repair welds are often visibly less even.
- Look for fresh undercoating specifically along frame rails, which can conceal both rust and prior structural repair work.
- Check that door, hood, and trunk close with consistent resistance and alignment — a frame that’s been pulled back into shape after a collision often leaves subtle closing-force asymmetry.
- Measure (or visually compare) wheelbase symmetry by checking tire-to-fender gaps on both sides — meaningful differences can indicate a frame that was never fully restored to factory geometry.
- Check for a replaced VIN plate or rivets that look newer or differently placed than the surrounding structure.
- Have a qualified mechanic put the car on a lift to visually inspect the full underside frame — this single step catches more structural issues than every visual check above combined.
Mechanical and Fluid Checks: 6 Checks
- Check oil level and color on the dipstick — very dark, gritty oil suggests overdue maintenance; milky oil suggests coolant contamination.
- Check coolant reservoir for oil contamination (a rainbow sheen) which can indicate a failing head gasket.
- Check transmission fluid level and smell — a burnt smell on automatic transmission fluid suggests significant wear or overdue service.
- Start the engine cold if possible and listen for knocking, ticking, or excessive valve noise before it warms up and quiets down.
- Check for white or blue exhaust smoke on startup — white suggests coolant burning, blue suggests oil burning, both point toward deeper mechanical issues.
- Test all gears (including reverse) on an automatic, and check clutch engagement smoothness on a manual, during the actual test drive.
Documentation and History: 4 Checks
- Run the VIN through a vehicle history service to check for reported accidents, salvage titles, or odometer discrepancies.
- Cross-check the odometer reading against service records and any stickers (oil-change reminder stickers, inspection stickers) for consistency.
- Request maintenance records and check that service intervals roughly match the manufacturer’s recommended schedule for that mileage.
- Confirm the title is clean (not salvage, flood, or rebuilt) and that the seller’s name matches the title exactly before any money changes hands.
Why Order Matters
Running these checks in a consistent sequence — exterior first, then flood-specific signs, then frame, then mechanical, then paperwork — means you’re less likely to skip a category because you got distracted mid-inspection. A seller or dealer showing a vehicle has every incentive to direct your attention toward its strengths; a fixed checklist keeps the inspection under your control rather than theirs.
When to Bring In a Professional
A pre-purchase inspection by a qualified independent mechanic — separate from the seller’s own shop — is worth the cost (typically a modest flat fee) on any vehicle you’re seriously considering, especially for the frame-lift check in item 20, which most buyers simply cannot perform themselves without a lift. Treat the 30-point walkthrough above as your own first-pass filter to decide which vehicles are worth paying for that professional inspection, not as a full replacement for one.
| Category | Checks | Primary risk caught |
|---|---|---|
| Exterior and body | 1–8 | Prior collision repair, rust, paint mismatch |
| Flood damage signs | 9–14 | Water intrusion hidden by cleaning |
| Frame and structure | 15–20 | Unrepaired or improperly repaired structural damage |
| Mechanical and fluids | 21–26 | Deferred maintenance, engine/transmission wear |
| Documentation | 27–30 | Title fraud, odometer rollback, undisclosed history |
No single checklist catches everything, and some issues only surface with specialized diagnostic equipment a mechanic will have and a buyer typically won’t. Use this as a disciplined first filter, and always consult your owner’s manual or a qualified mechanic before making a final decision on any vehicle with findings that concern you.
Drive Forward with Confidence
Skipping a Used Car Pre-Purchase Inspection is an unnecessary gamble. By insisting on a third-party evaluation, you protect your bank account, ensure the safety of your passengers, and gain invaluable peace of mind.
Adopt the Carri mindset today: demand transparency, inspect beneath the surface, and make every automotive purchase with total confidence.